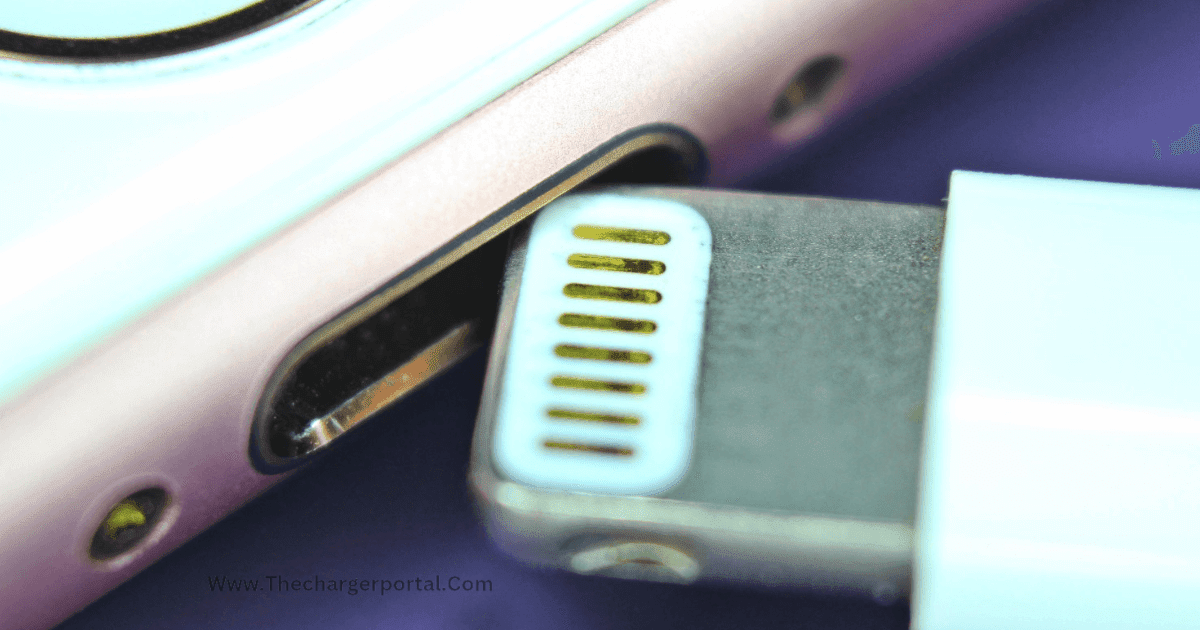
The crucial component of an iPhone that makes it possible to charge and transfer data is the charging port. However, with time, the port can deteriorate or gather debris, which would affect charging. In this article, we'll show you step-by-step how to fix your iPhone's charger port and get it working again.
It is crucial to remember that it is advisable to get expert assistance or go to an authorized Apple service center if your iPhone is still covered by warranty or you feel uncomfortable making the repairs yourself.
Materials and Equipment Needed:
- miniature Phillips screwdriver
- Spudger or a plastic pry tool
- Isopropyl alcohol (At least 90% concentration)
- a dust buster or compressed air can
- Cotton swabs or a piece of microfibre fabric
- If necessary, a replacement charging port
step 1: Safety precautions
Make sure your iPhone is shut down and removed from any power sources before you begin mending the charging port. Accidents and further harm might result when working on powered equipment.
step 2: Take out the Screws
To remove the screws surrounding the iPhone's bottom edge, use the tiny Phillips screwdriver. To prevent losing them, keep the screws organized in a container.
step 3: Cracking up the iPhone
Starting from the edge of the charging port, carefully slide the plastic pry tool or spudger between the front and back case of the iPhone. Apply little pressure on the gadget to pop it open. Work slowly and cautiously around the edges to prevent injuring the internal parts.
step 4: Accessing the charger port
Locate the charging port assembly once the iPhone has been opened. Typically, a flex cable is used to link it to the logic board. Look for any obvious damage, such as crooked or loose connections or bent pins. Think about getting a new charging port if there is obvious physical damage.
step 5: Cleaning the charger port
The charger port becoming clogged with grit, lint, or other material frequently leads to charging problems. You may clean the interior of the port by dipping a cotton swab or microfiber cloth in isopropyl alcohol. As an alternative, you can remove any particles by using compressed air.
step 6: Reassembling the iPhone
Reposition the iPhone's rear case and gently rejoin the flex cable after thoroughly cleaning and inspecting the charging port. Start by carefully matching the edges, then gently press down to snap it close. Reinstall the screws with a Phillips screwdriver.
step 7: Testing the charger port
Turn on your iPhone and insert a charging cable to check the charger port's efficiency. Make sure the battery indicator indicates that the iPhone is charging, then try connecting it to a computer to check the device's ability to send data.
step 8: Replace the charger port, if necessary
You might need to replace the charger port. if cleaning and examination did not fix the charging problems. Get a new charging port that works with the model of your iPhone. To remove the old charging port and install the new one, carry out steps 2 through 6 backward.
Conclusion
When using the proper equipment and taking the proper safety precautions, fixing an iPhone charging port is a very simple procedure that is frequently doable at home. You might be able to fix charging problems brought on by debris or small damage by using this technique. To secure the best outcomes and prevent voiding your warranty, however, think about getting expert assistance from Apple or an authorized repair agency if your iPhone's charging issues continue or the fix appears too complicated.


